One of the many reasons users prefer Android devices is the ability to expand the amount of available storage space using the MicroSD Card. Since we have the ability add up to 256GB of external storage to Android devices today, you're bound to choke up when the SD card crashes without any tell-tale signs.
If you're experiencing issues on how to repair a crashed SD card on your Android device, there are certain fixes you can try out. Since there's not a singular solution to SD Card issues, we've created a guide to help you detect the issue with your external storage and mentioned multiple solutions to get your SD card working and even retrieve your stored data along with it.

Before you start
Before you start
Don't format the card if you want to retain any of the photos on it. You can follow the tips in our separate article on how to format a write-protected SD card after you've tried to recover any files that are on your card.
Now, try and find a different card reader. If you've inserted an SD card into your laptop or PC's built-in slot and nothing happens, try using a different computer or a USB card reader.
Read More;- Hacking Gmail For Free Custom Domain
Sometimes it's the reader at fault – not the card. You can buy a USB SD card reader online for just a couple of pounds which will accept both microSD and standard SD cards.
Steps to Repair a Crashed SD Card and Protect your Data:
Step 1 – Physically clean the SD Card
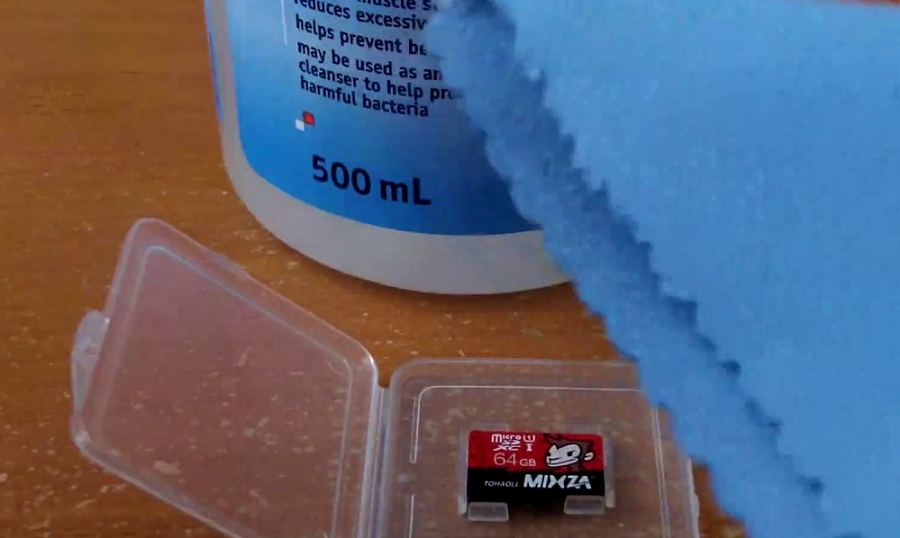
Despite being durable and built to last, SD cards are prone to crashing sometimes due to physical damage. Since you carry your phone around everywhere, some dirt and dust are bound to fill up in the cracks, that can make SD card stop working from time to time.
The first thing you can try to do on how to repair a crashed SD card is physically scrub and clean it.
- Remove the MicroSD card from your Android device and place it on a clean surface. Make sure that you turn off your phone before pulling out the SD card for safety.
- Flip the MicroSD card and using a white eraser, gently scrub the gold contact pins of the SD card to get rid of any residual dirt or grime.
- If you have an alcohol-based cleaning solution or even nail polish remover around, dab it on to the connector pins using a Q-tip and gently rub it.
Once the SD card has dried out, you can plug it back into your Android device and turn it on to see if the solution has worked.
Also Read;- How To Get Grammarly Premium Account Free 2018
Step 2 – Format the SD Card

If your SD card is being detected by the Android device but you're having trouble accessing the saved files, there's a good chance that the files are corrupt. This could either be due to a particular broken file in the saved storage, or a virus that is causing the issue.
Either way, the only option there is left for you to try out is make the SD card reusable for formatting it.
- From the home screen of your Android device, head over to the Settings app and then scroll down to find the Storage
- In the Storage tab, you'll be able to find the Erase SD Card option, so go ahead and select it.
- Confirm your action to delete all of the files and folders stored on your SD card and this should effectively solve the issue.
Step 3 – Check the SD card compatibility
If you are trying to figure out how to repair a crashed SD card on an older Android device, you might just need to look at the details more carefully. If your SD card fails to be recognized on the mobile device but works with your computer, the problem could be related to compatibility.
Also Read;- How To Install and Run Backtrack On Android
- If the MicroSD card that you are trying to use with your older phone is SDXC version (built for higher transfer speeds), it will not be recognized.
- Look up the maximum capacity of expandable storage that is supported by your device, since they can vary from starting at 64GB to all the way up to 256GB.
Step 4 – Diagnose the SD card using a PC
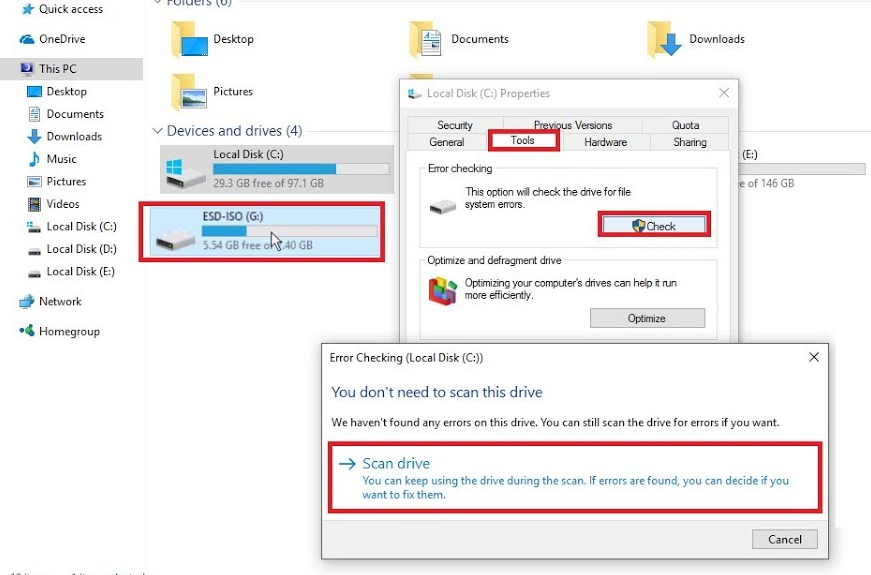
If a simple format did not help you solve the SD card problem, you might need a more technical analysis of the issue. To do so, you can plug in your SD card into a computer and use the diagnostic tools to find out the pertaining errors and effectively fix them.
- Connect your Android mobile device to a computer using a USB cable.
- Make sure that you connect Android as MSC (Mass storage mode) and not MTP (Media transfer mode). You can do this using the notification menu once you connect the phone to your computer.
- Launch the Windows Explorer and right click on the SD card driver you see on the screen. In the options menu, choose Properties – Tools – Error Checking and wait for the entire process to complete.
- The computer will try to update the software for your SD card and fix any errors that are causing it to crash.
Step 5 – Use chkdsk to fix/repair a corrupted SD card without data loss
The "chkdsk" command is your first choice for damaged SD card repair. Requiring no format, it allows you to fix or repair a corrupted SD card and regain access to all your important files on the device. Let's see how it works. (I'm using Windows 7 for this demonstration)
1. Plug in your SD card to your computer with a card reader.
2. Go to the start menu, type in "cmd" in a search bar, hit enter and then you can see something named "cmd. exe" in a list of programs.
3. Right-click "cmd. exe" and then you will get the following command windows that allow you to fix your corrupted SD card without formatting.
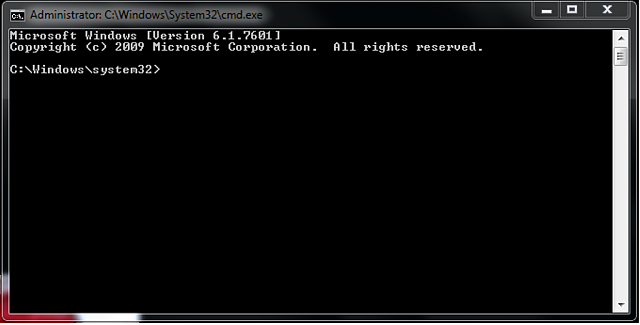
4. Type in "chkdsk /X /f sd card letter:" or "chkdsk sd card letter: /f ", for example,"chkdsk /X /f G:" or "chkdsk h: /f".

After finishing all the steps, Windows will have checked and fixed the file system of the SD card. It usually takes several minutes. After that, if you see "Windows has made corrections to the file system" in the command window, then congratulations! The damaged SD card is successfully fixed and you can see your data again. If not, you should try a third-party data recovery software to retrieve your files from the damaged SD card and repair it by formatting.
Once the process has been completed, you can go ahead and pop the SD card back into your Android device and see if the issue has been resolved.
Step 6 : Use EaseUS Data Recovery Wizard to recover data from damaged SD card
1. Connect the corrupted SD card to your PC, launch EaseUS's data recovery software, select the card and click "Scan".
2. A quick scan will first start to search all the lost and existing data on the SD card. And after that, a deep scan will automatically launch in order to find more files.
2. A quick scan will first start to search all the lost and existing data on the SD card. And after that, a deep scan will automatically launch in order to find more files.
3. After the scan, choose those files you want to recover and click the "Recover" button to retrieve them back.

Final Words :
So finally through this article, you have got to know about the method by which the SD card could be repaired and hence the data in it could be saved for the further access. We have tried to present the method in easy to grab manner and we believe that you could possibly get to know about it easily. Hope that you would have liked the information in this post, if it is so then please share it with others. Also, do not forget to share the post with others, let most of the people know about the method. Share your comments about the post through using the comment box below. At last never the fewer thanks for reading this post!